NeurodeskEDU - Neurodesk’s education and learning resources#
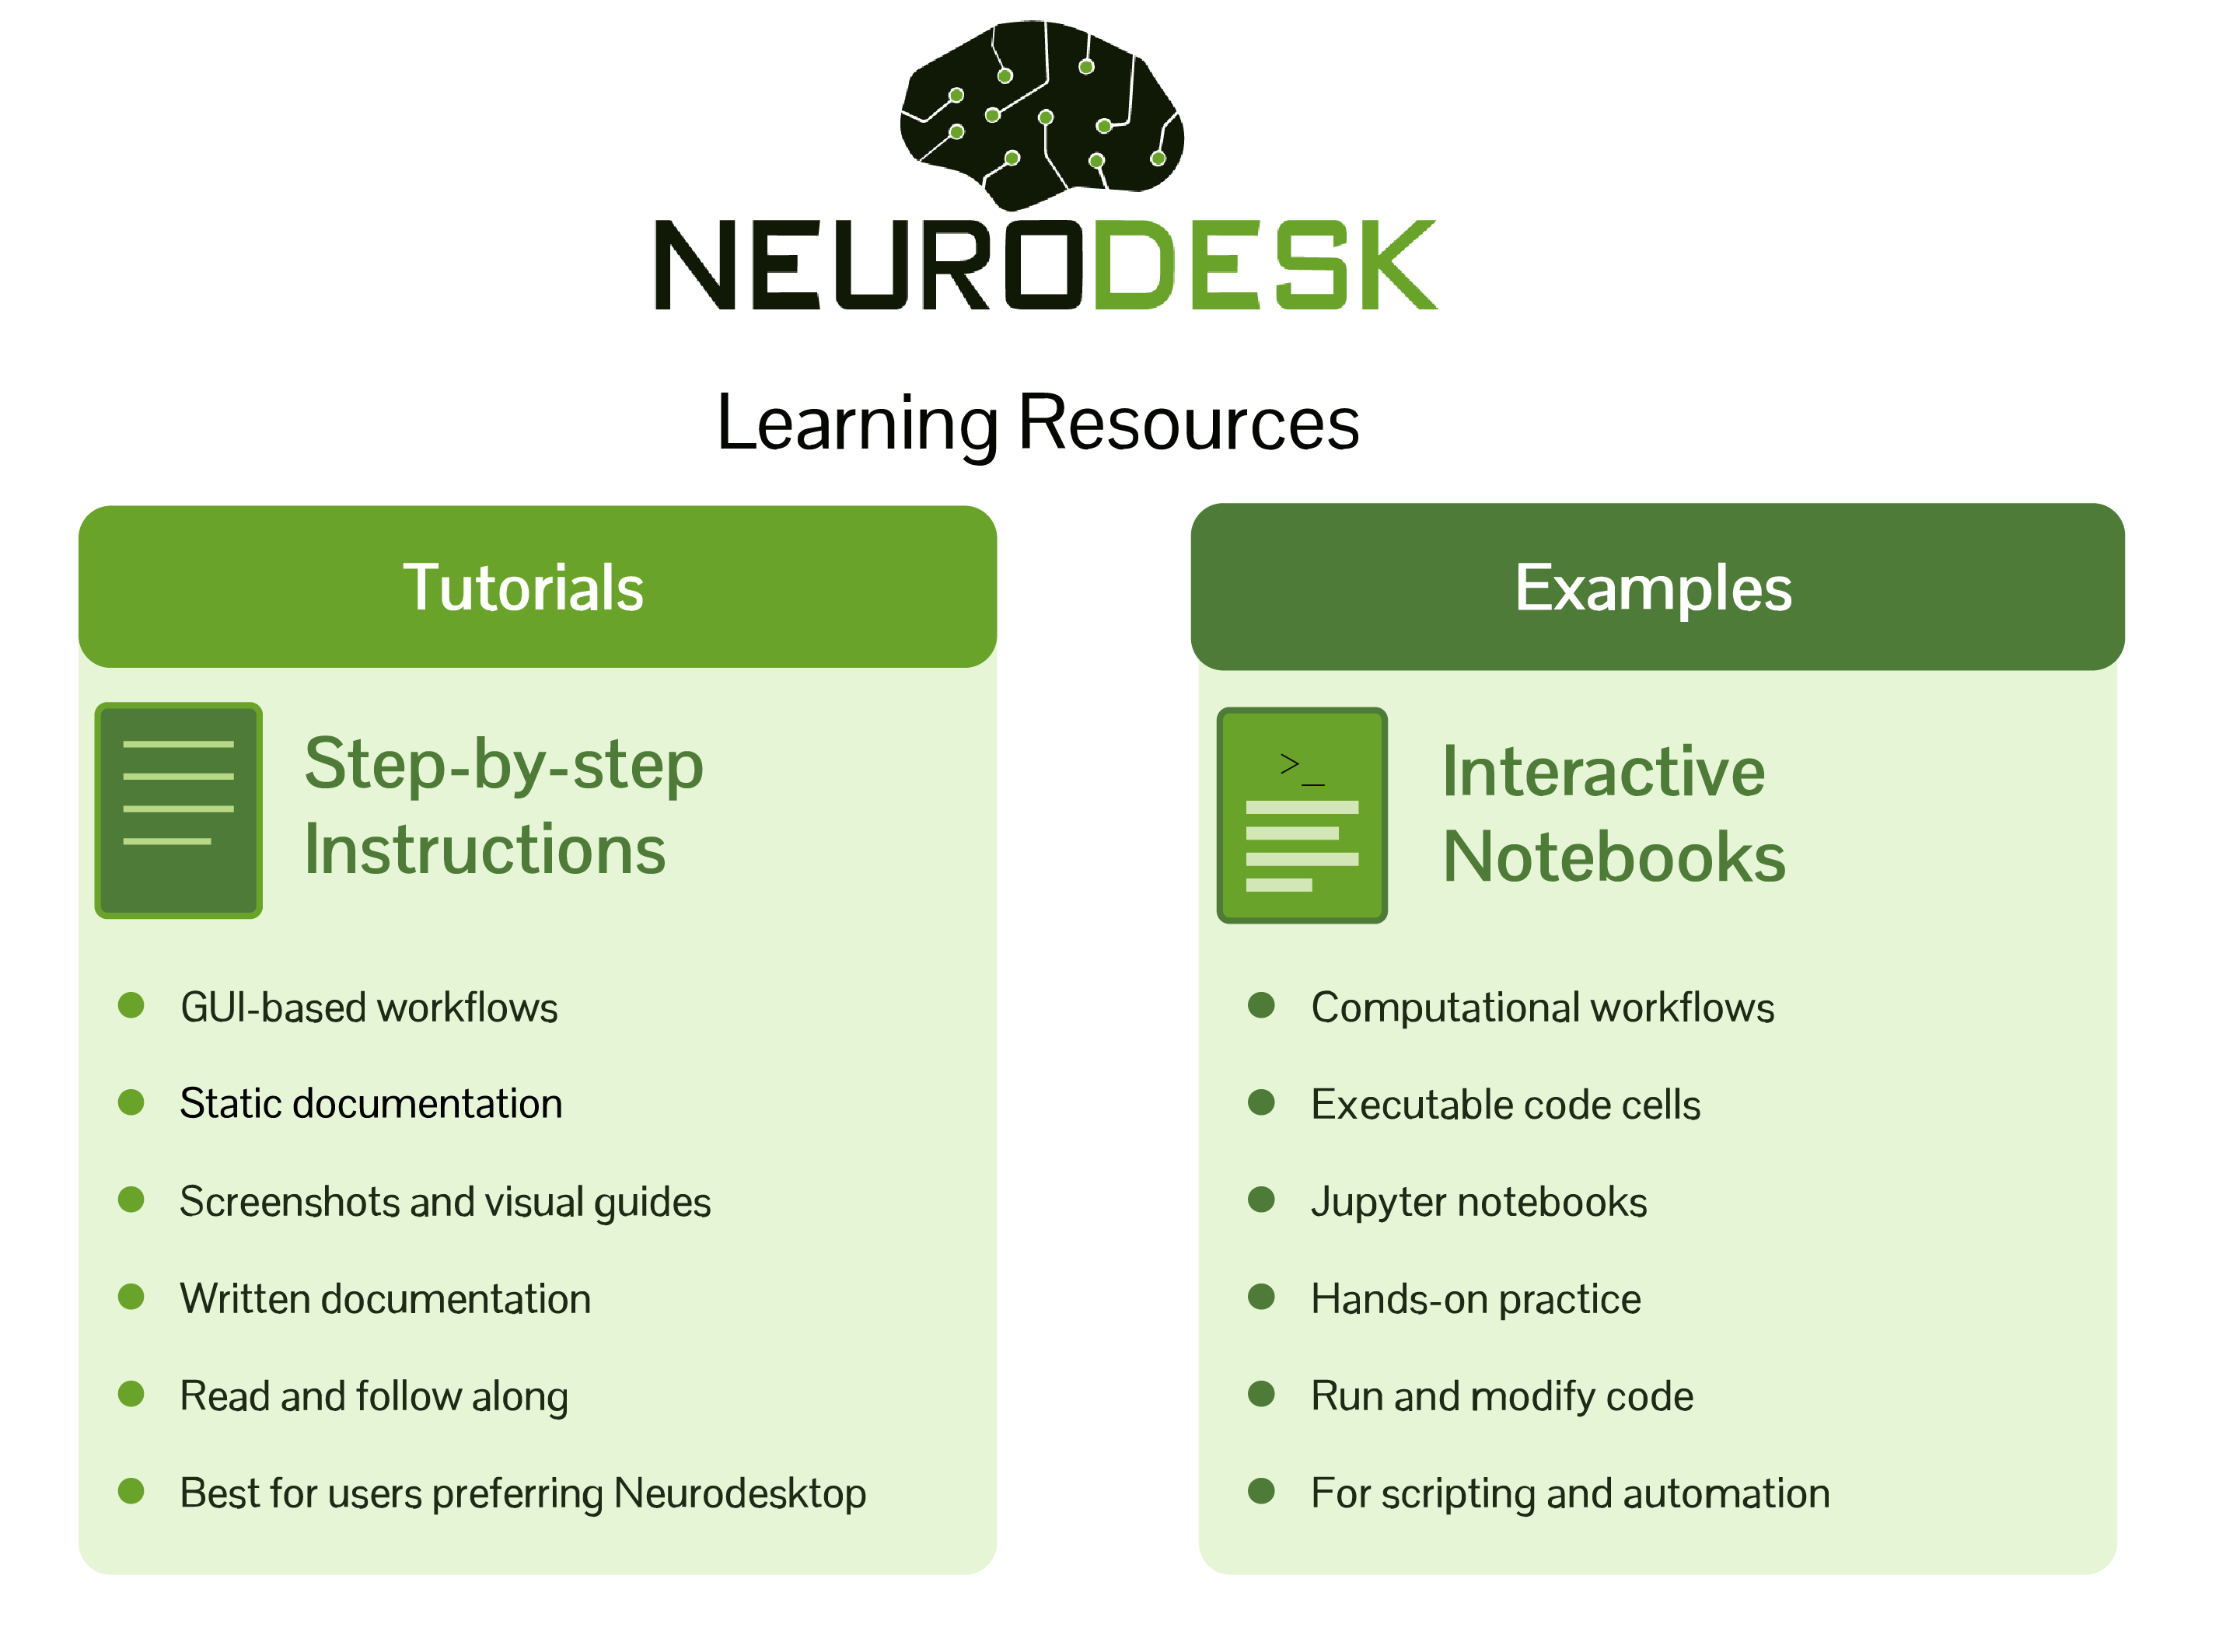
Neurodesk offers two types of learning resources to help you get started with neuroimaging analysis:
Tutorials are static, step-by-step guides that walk you through analyses using graphical user interfaces (GUIs). They include screenshots, detailed instructions, and visual documentation—perfect for beginners or those who prefer point-and-click workflows.
Examples are interactive computational notebooks that you can run, modify, and experiment with. These Jupyter notebooks contain executable code and are ideal for users who want to automate analyses, build reproducible workflows, or dive deeper into scripting-based neuroimaging.
Each Jupyter notebook in the repository is equipped with a Jupyter Hub button () at the top. This button will allow you to interact with the notebooks in a cloud-based environment. The environment is pre-configured to support Neurodesk, so you can start experimenting with the notebooks right away without having to install any additional software or packages.
If you want to run these notebooks in another Neurodesk environment, make sure to clone the example notebooks in this repository first:
git clone --depth 1 --filter=blob:none https://github.com/neurodesk/neurodeskedu.git
cd neurodeskedu
git sparse-checkout init --cone
git sparse-checkout set books/examples
Choose the format that best matches your learning style and experience level. Both resources use the same containerised neuroimaging tools available in Neurodesk. You can also contribute both tutorials and examples.
💡 Note: If you aren’t finding what you’re looking for, please contact us.
1. Understand Neurodesk:#
Neurodesk is a flexible and scalable data analysis environment for reproducible neuroimaging. The NeurodeskApp combines both computational notebooks and a graphical user interface. In this section, you will find learning resources for both of these tools. More info
2. Choose Your Setup:#
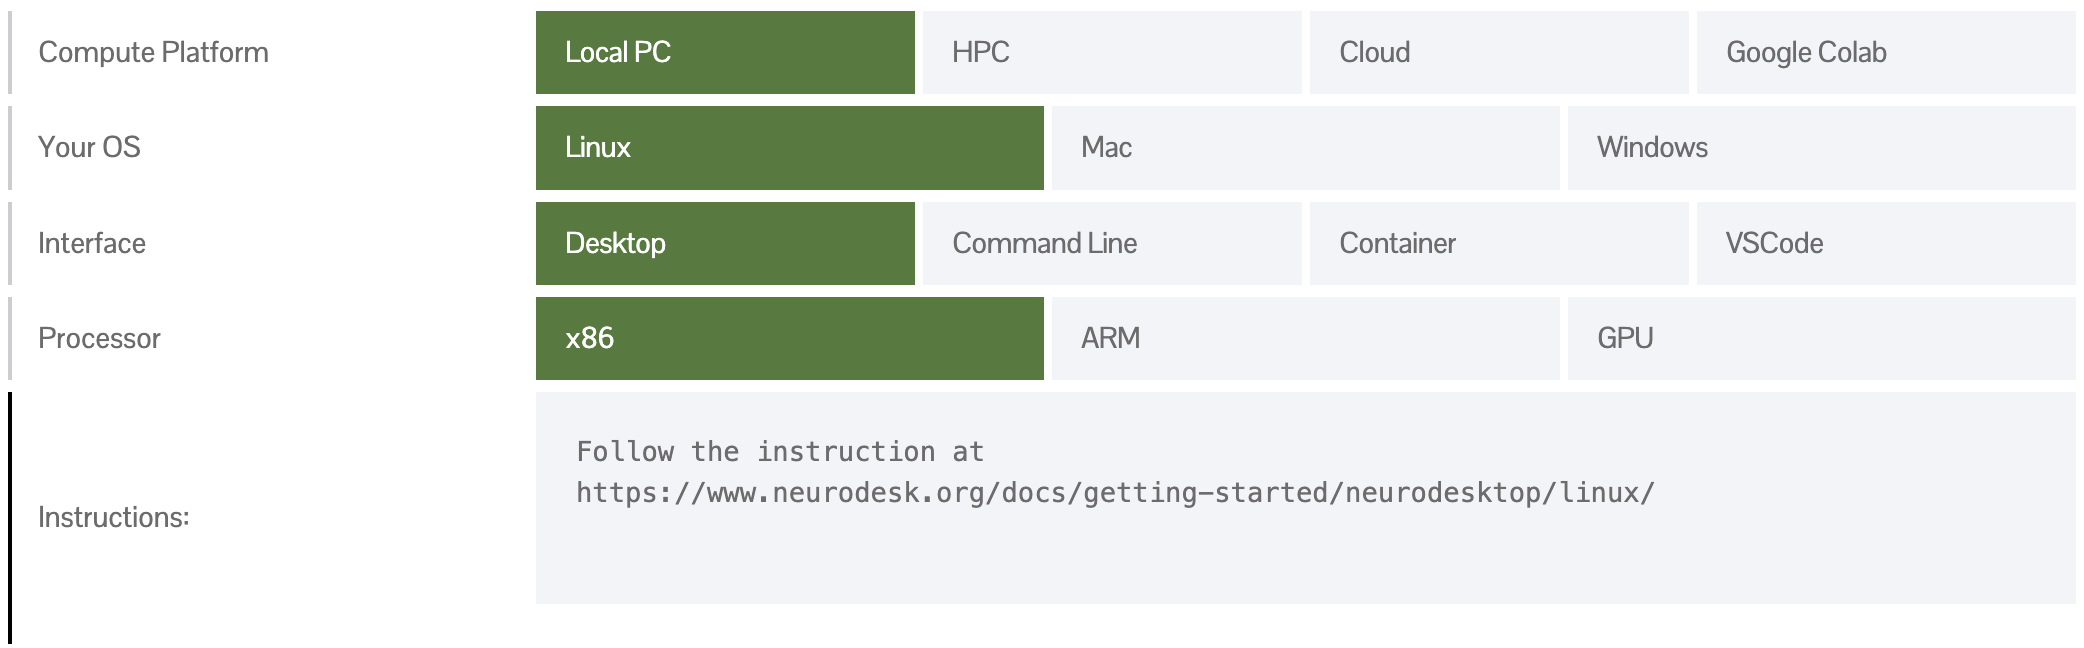
Neurodesk can be used on various platforms, including a local PC, High-Performance Computing (HPC), Cloud, and Google Colab. It supports Linux, Mac, and Windows operating systems. You can interact with it through a desktop interface, command line, container, or VSCode. Choose the setup that best suits your needs based on this table.
3. Follow the Instructions:#
Once you’ve chosen your setup, follow the instructions provided in the link.
For example, if you’re using Linux on a local PC with a desktop interface, you would follow the instructions at https://neurodesk.org/docs/getting-started/neurodesktop/linux/.
4. Video tutorial#
See below for a 4-minute tutorial on Installation, Usage and Data Access with Neurodesktop
Acknowledgements#
This example repository is funded by the Wellcome Trust with a Wellcome Discretionary Award as part of the Chan Zuckerberg Initiative (CZI), The Kavli Foundation and Wellcome’s Essential Open Source Software for Science (Cycle 6) Program [313306/Z/24/Z]
The interactive version of these notebooks is run in the US by Jetstream2 (NSF award #2005506), which is supported by the National Science Foundation. Jetstream2 is a cloud computing resource managed by the Indiana University Pervasive Technology Institute and part of the ACCESS project.
The interactive version of these notebooks is run in Europe by the EGI Federation with the dedicated support of CESNET-MCC. Computational resources were provided by the e-INFRA CZ project (ID:90254), supported by the Ministry of Education, Youth and Sports of the Czech Republic.