Neurodesk App
Step 1: Download and install
Section titled “Step 1: Download and install”Download the Neurodesk App for your operating system, then follow the install instructions below.
Download:
Install:
Double-click the downloaded .dmg file and drag NeurodeskApp into your Applications folder. To open it, right-click NeurodeskApp.app and select “Open”.
Alternatively, install with Homebrew:
brew install neurodesk/homebrew-neurodesk/neurodeskappDownload:
Install:
Double-click the downloaded .exe file. Windows will show an “Unknown publisher” warning because the installer is not code-signed. This is expected: the installer is an official release from the neurodesk-app GitHub repository. Click “Yes” to proceed, then accept the licence agreement and click “Finish”.
Download:
| Distribution | x64 | arm64 |
|---|---|---|
| Debian / Ubuntu | .deb (x64) | .deb (arm64) |
| Fedora / RHEL / SUSE | .rpm (x64) | .rpm (arm64) |
| Arch-based | AUR package |
Install:
Replace <arch> in the following commands with the architecture of the file you downloaded (x64 or arm64).
# Debian / Ubuntusudo apt install -f ./NeurodeskApp-Setup-Debian-<arch>.deb
# Fedora / RHEL / SUSEsudo rpm -i NeurodeskApp-Setup-Fedora-<arch>.rpm
# Arch-basedyay neurodeskMinimum system requirements
Section titled “Minimum system requirements”- At least 8 GB free disk space for the Neurodesktop base image
- A container engine (see Step 2 below)
Step 2: Set up a container engine
Section titled “Step 2: Set up a container engine”The Neurodesk App needs a container engine to run neuroimaging tools. Docker is recommended, and Podman is also supported. Both generally require admin/root access for installation.
Requires: admin/root access on your machine.
If you already have Docker installed, skip to Step 3. Otherwise, install Docker:
Verify your installation:
docker --versiondocker run hello-worldApple silicon users: enable Rosetta support in Docker Desktop settings for best performance.
Requires: admin/root access on your machine.
Podman is a drop-in replacement for Docker. Install it using your system’s package manager or from podman.io.
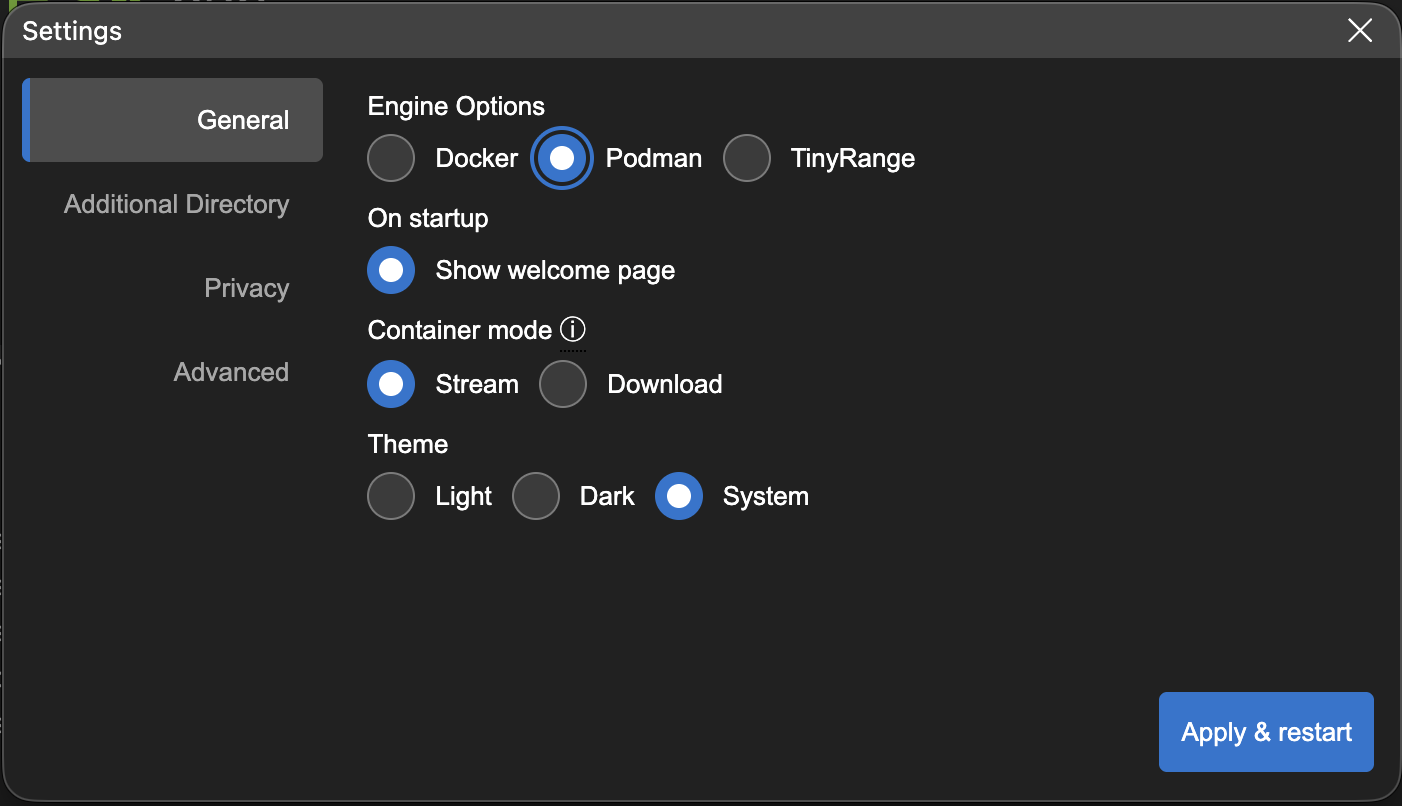
After installing Podman, configure the Neurodesk App to use it before starting a local session:
- Open the Neurodesk App’s Settings.
- Select General in the sidebar.
- Under Engine Options, select Podman.
- Click Apply & restart.
If you cannot install a container engine, use NeurodeskAppX, the portable option that does not require Docker, Podman, or admin/root access.
Step 3: Launch the app
Section titled “Step 3: Launch the app”Open the Neurodesk App from your operating system’s application menu, or run neurodeskapp from the command line.
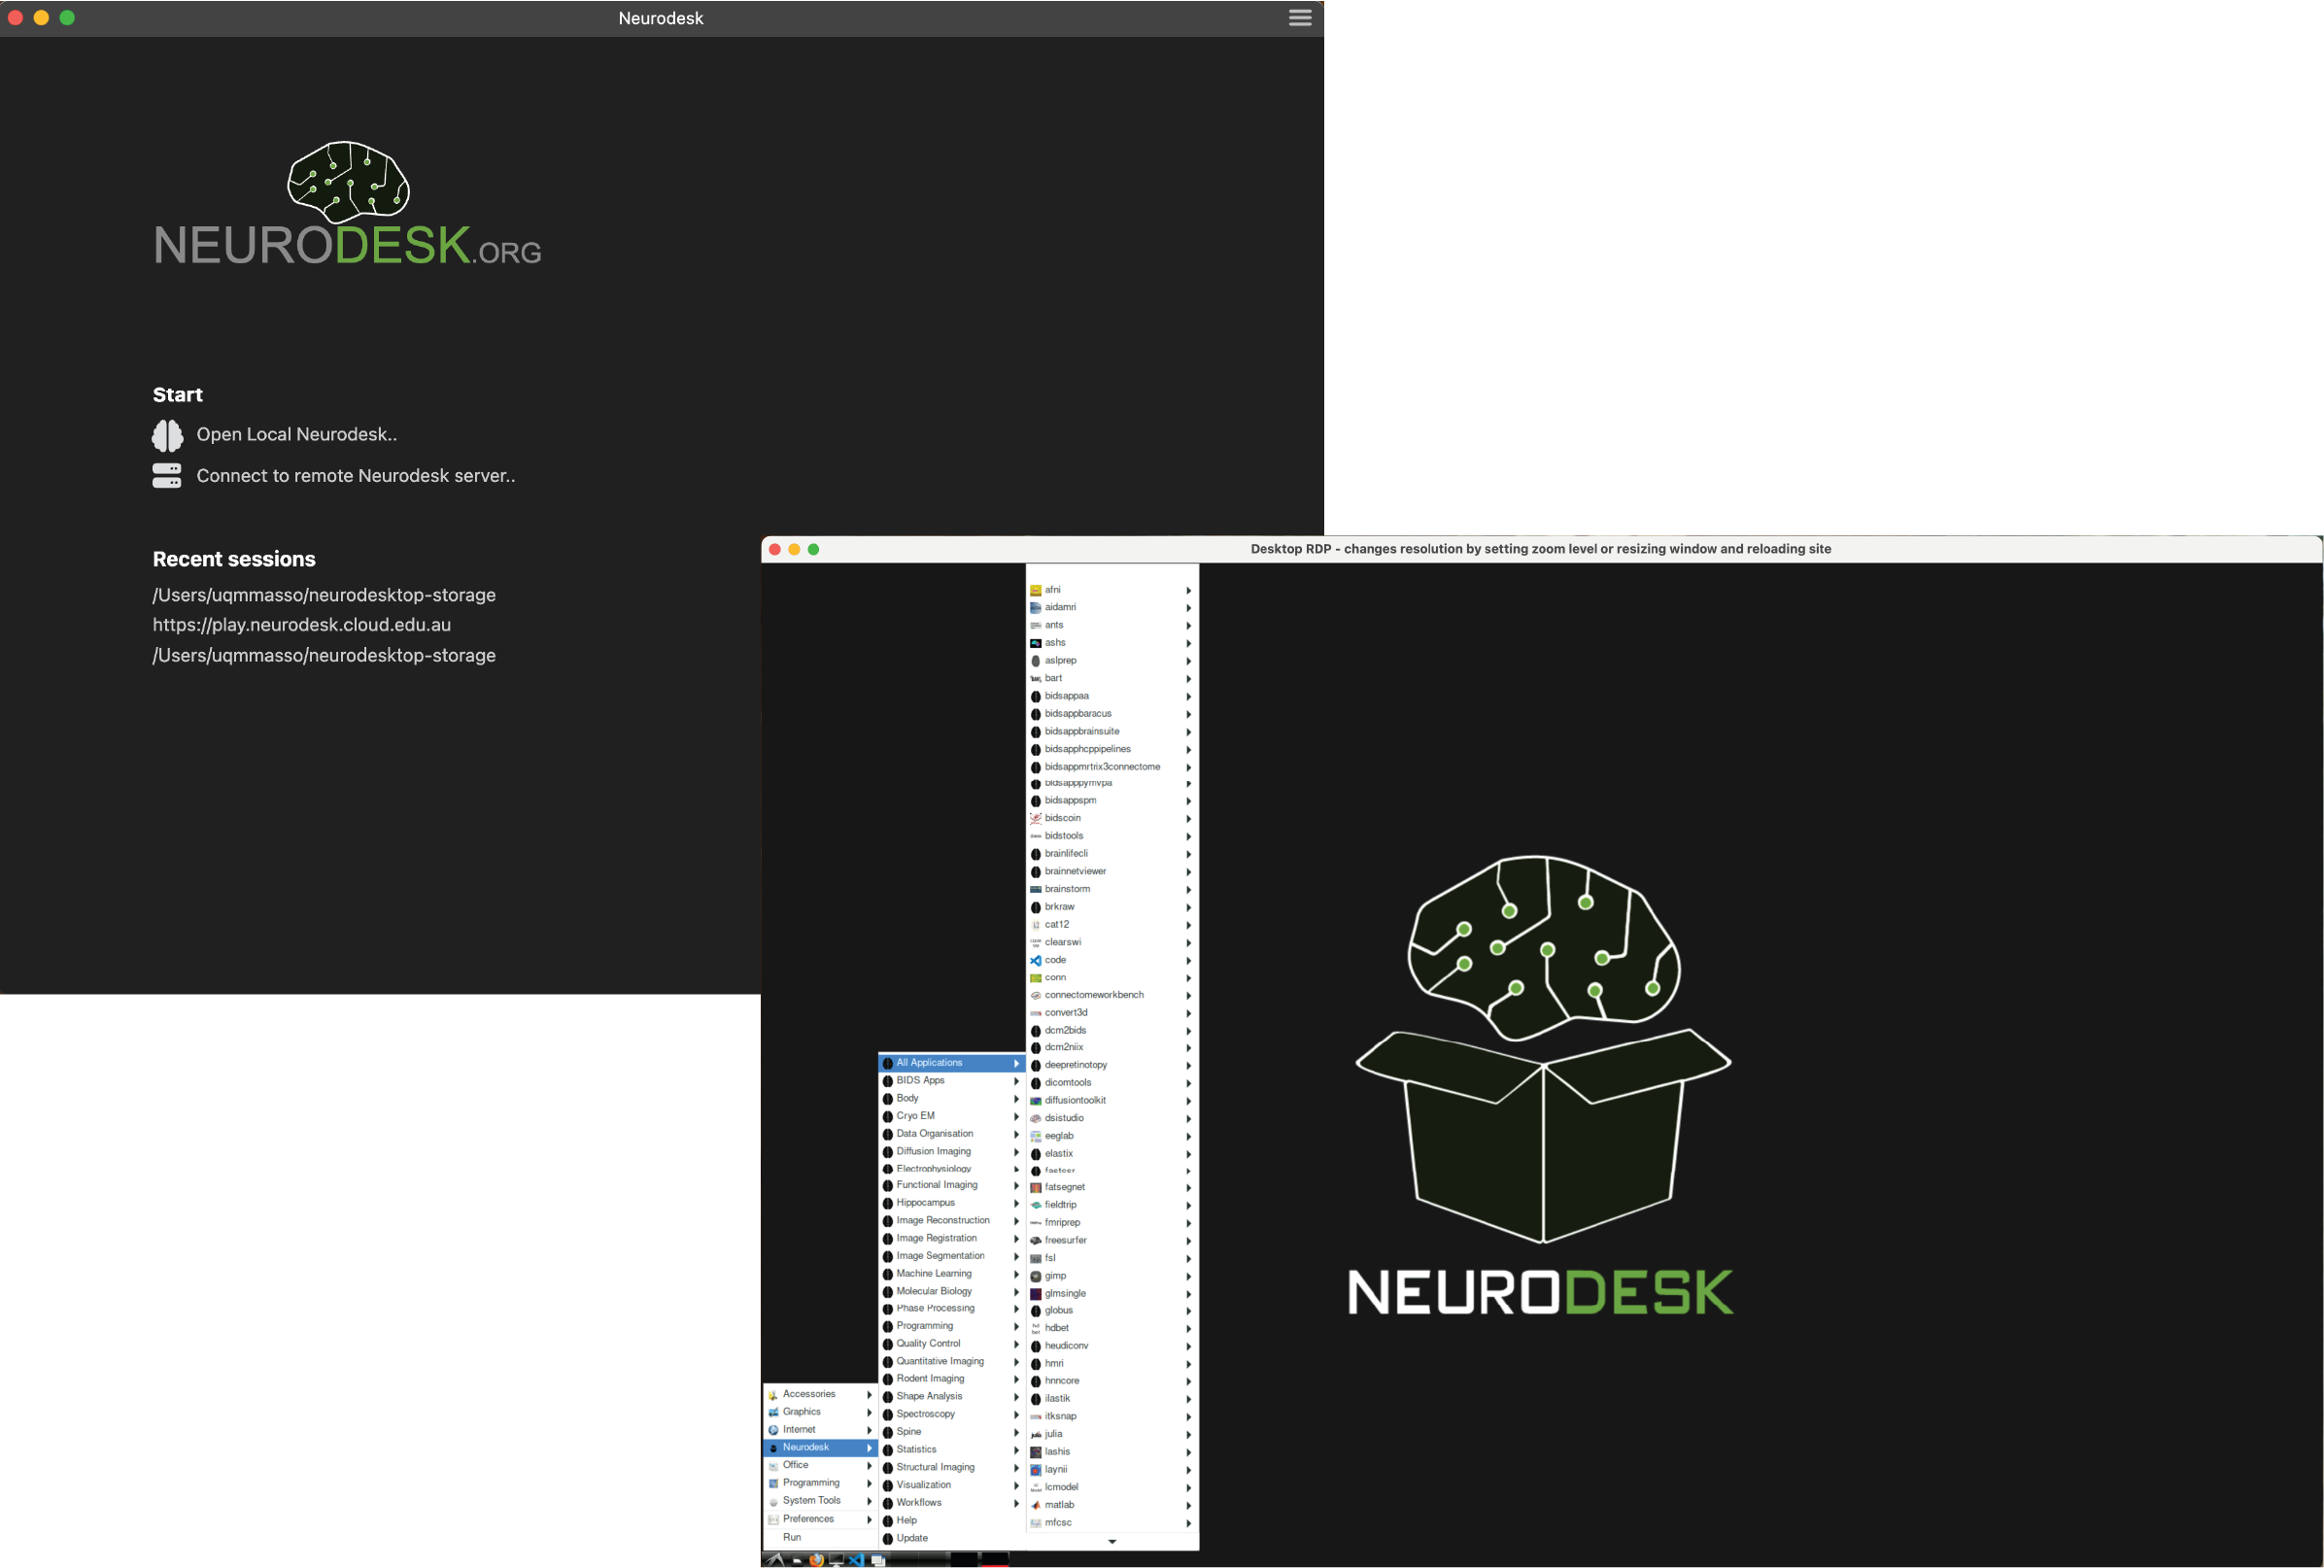
On the Welcome Page you have two options:
- Open Local Neurodesk starts a Neurodesk session on your machine.
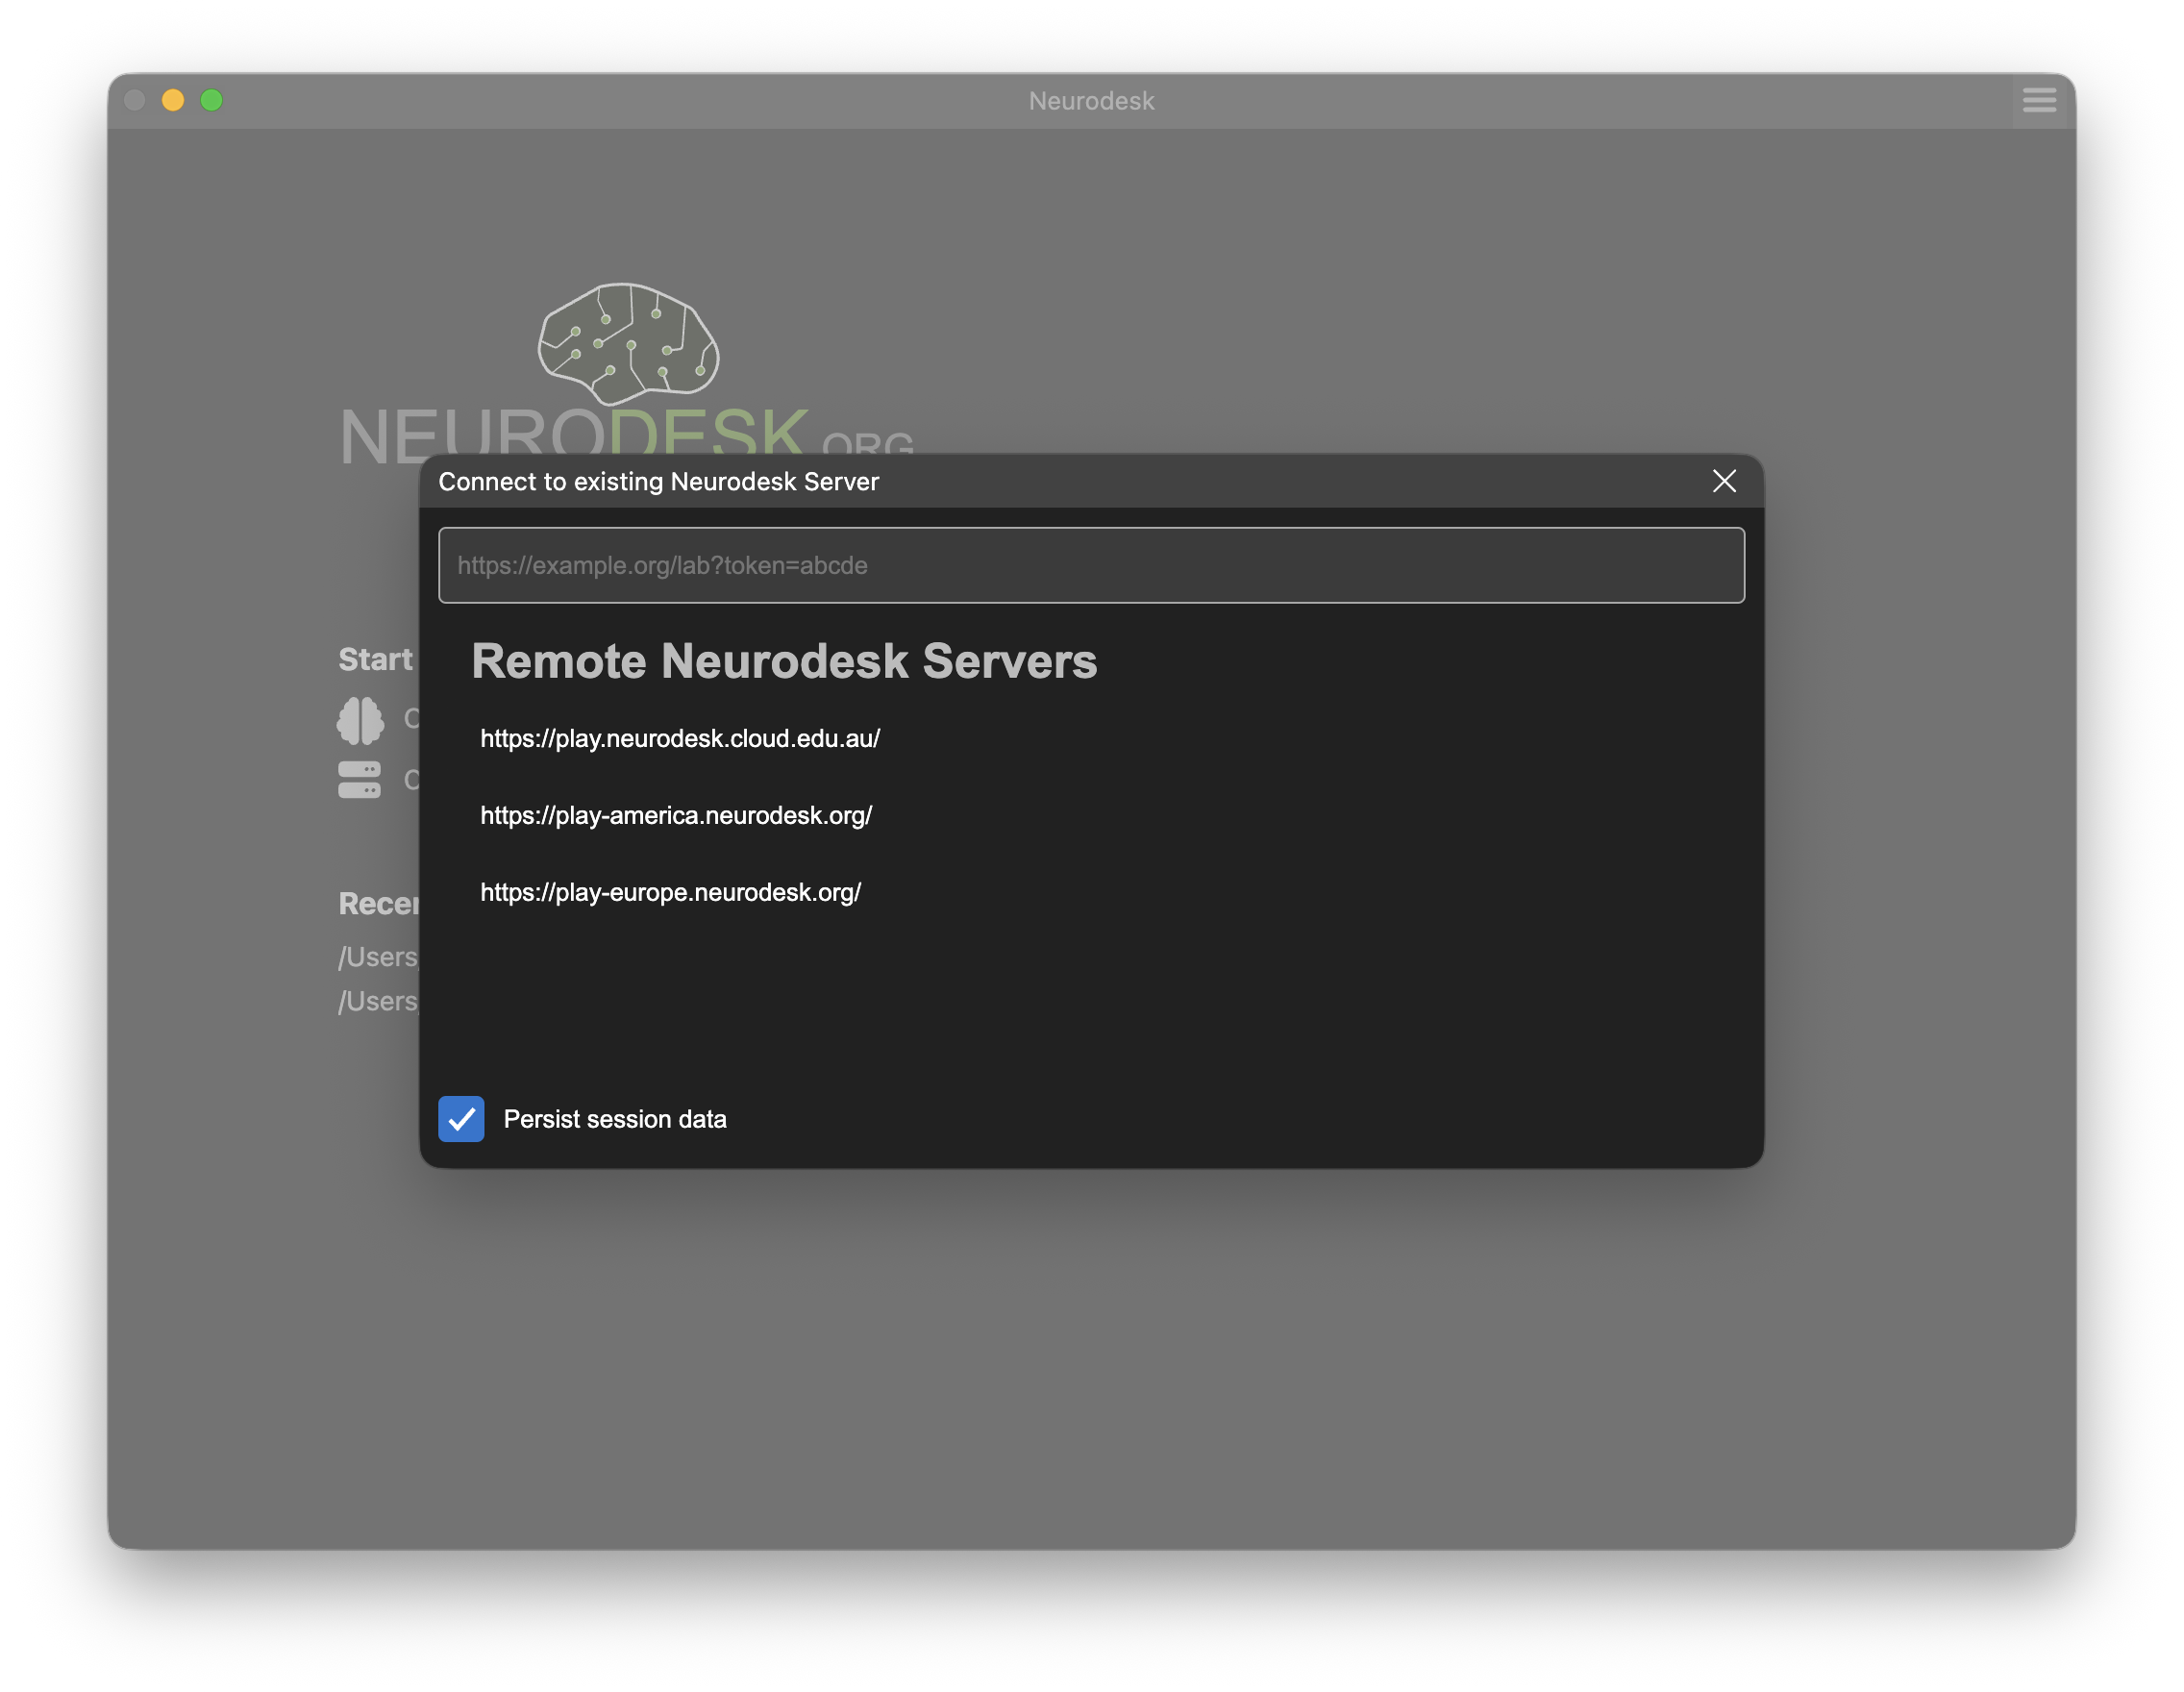
- Connect to remote Neurodesk server connects to an existing Neurodesk server running elsewhere.
Local sessions
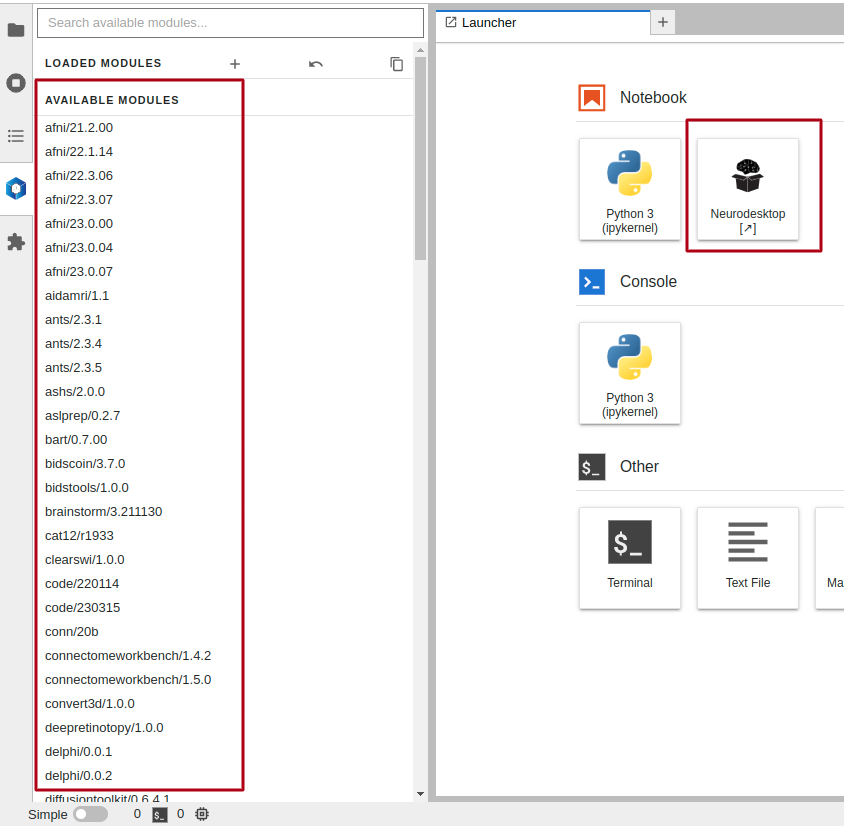
Section titled “Local sessions”Click “Open Local Neurodesk” to launch a local session. This opens a JupyterLab interface with two ways to use Neurodesk:
- Click the NeurodeskApp icon to launch the full desktop interface in a new window.
- Use the command line in JupyterLab and load tools via the module system in the left sidebar.
Remote sessions
Section titled “Remote sessions”Click “Connect to remote Neurodesk server” to connect to a server running elsewhere.
Select one of the provided servers in the list, or enter the URL of the server and press Enter to connect.
Data storage
Section titled “Data storage”For a full overview of how data storage works in Neurodesk (default paths, cloud storage, transferring files), see Data Storage.
Add a custom data directory
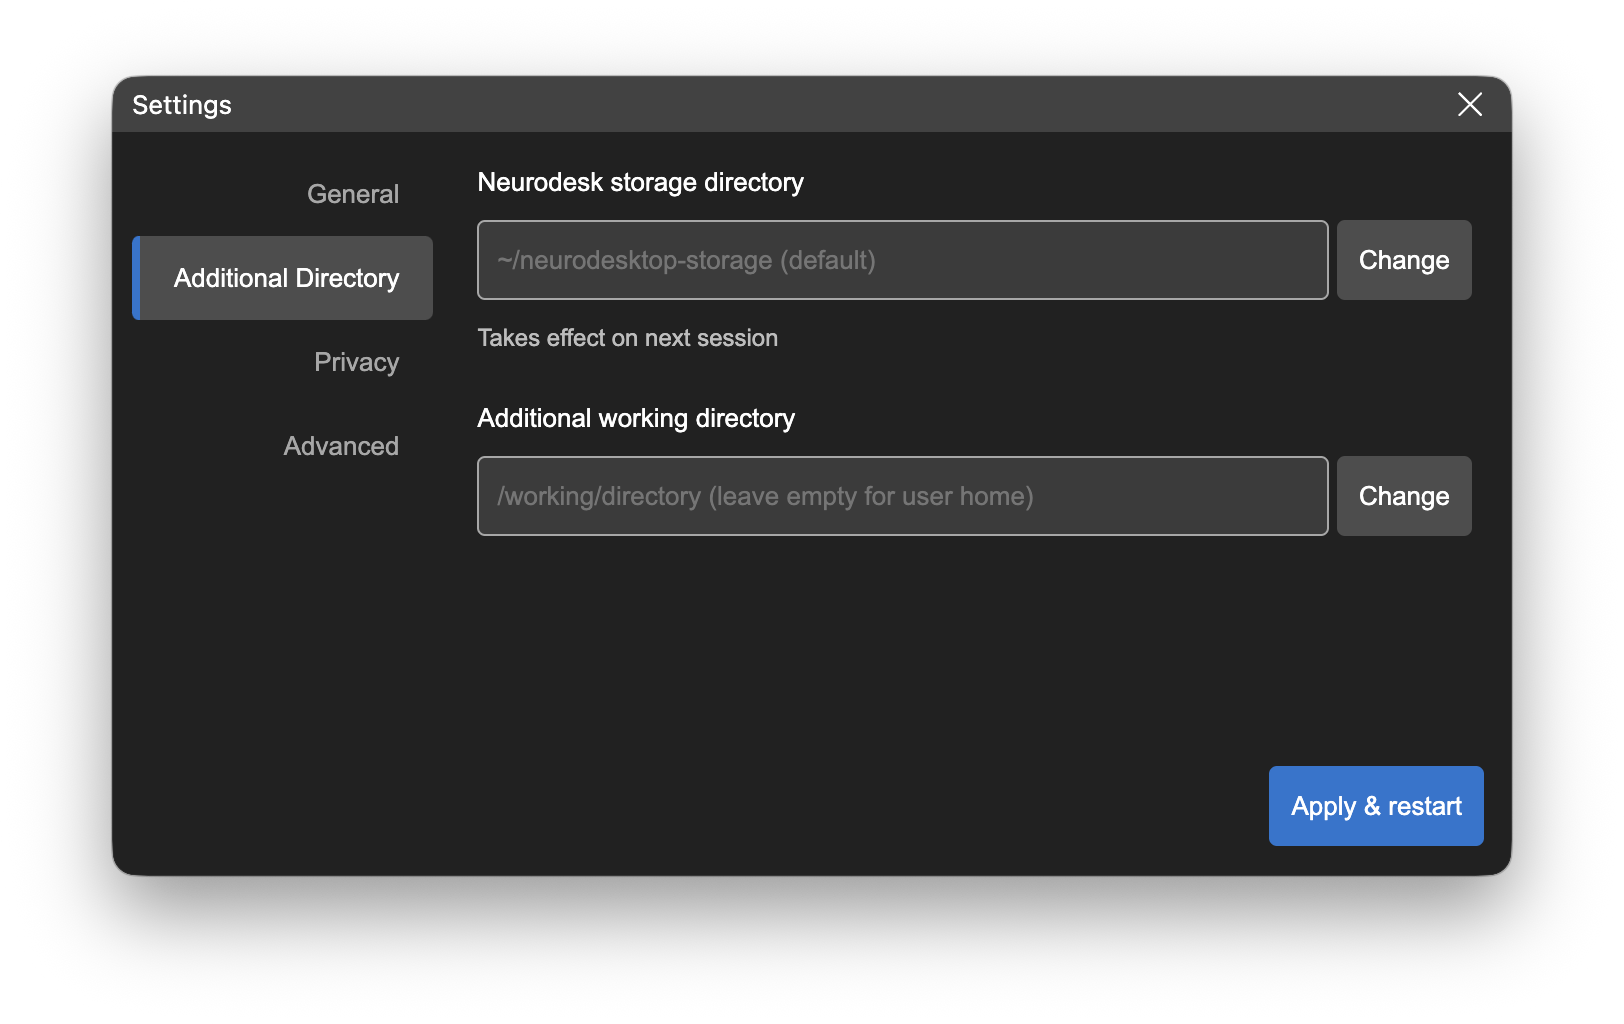
Section titled “Add a custom data directory”In Settings, select “Additional Directory” in the sidebar, click “Change” to choose a local directory, then click “Apply & restart”. The directory will appear at /home/jovyan/data inside the app.