

T3 Code
T3 Code is an open-source interface for coding agents. It runs Codex, Claude Code, and OpenCode from one window. Neurodesktop includes a T3 Code server that starts automatically with JupyterLab. You can use it in your browser, or connect to it from the T3 Code desktop and mobile apps.
Open T3 Code in JupyterLab
Section titled “Open T3 Code in JupyterLab”In the JupyterLab launcher, open scigent.ai in the Neurodesk section.
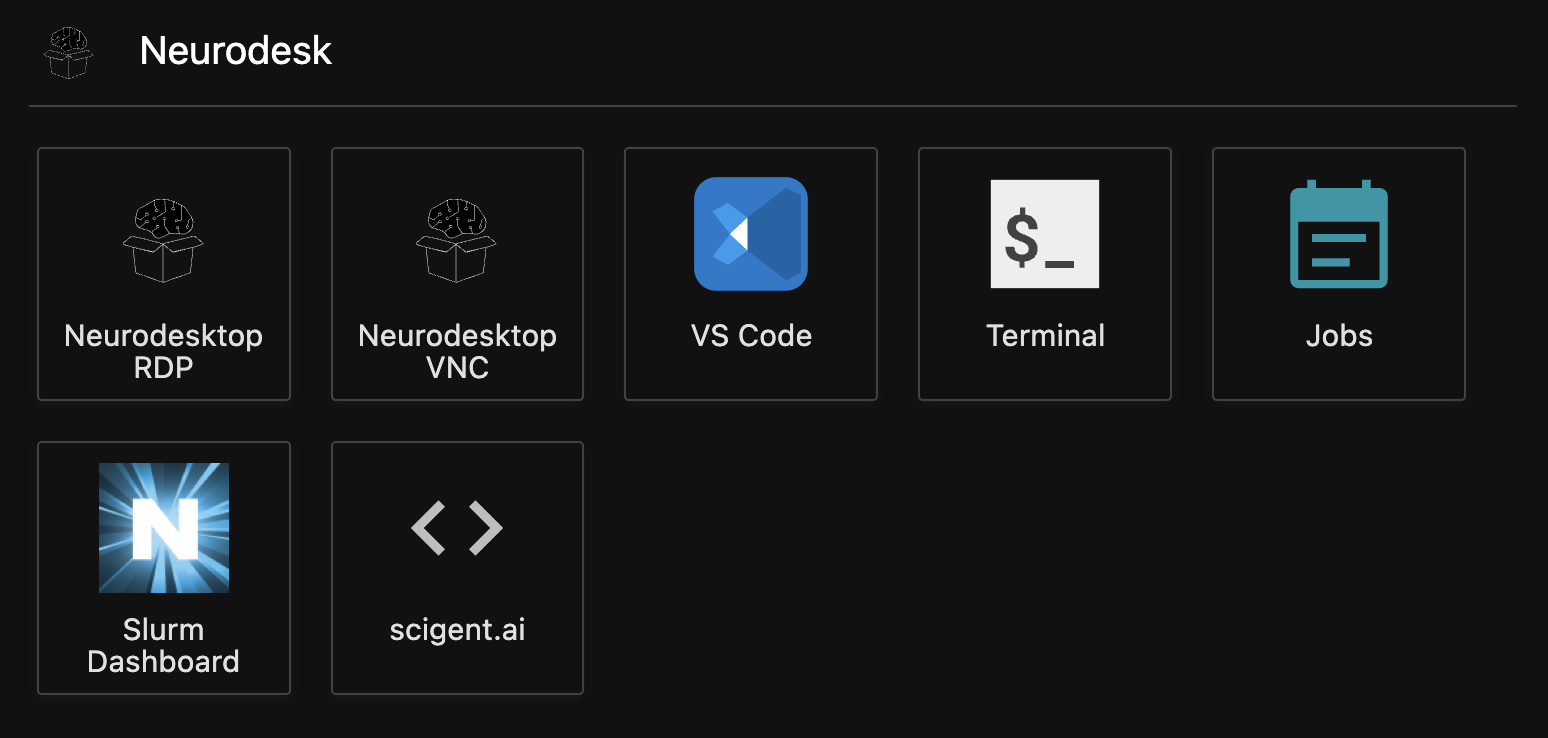
T3 Code opens in a new tab and uses your existing Jupyter login. You do not need a pairing token. If you close the tab, T3 Code keeps running, and your chats are kept in ~/.t3.
Set up model access for each agent under Settings → Providers in T3 Code. The agents use the Codex, Claude, and OpenCode installations in the container, so any login you already completed in a terminal also works here. See Codex, Claude, and OpenCode for each agent’s login steps.
Connect from the T3 Code desktop and mobile apps
Section titled “Connect from the T3 Code desktop and mobile apps”T3 Connect links your Neurodesktop environment to your T3 account. After you link it, you can use the environment from the T3 Code desktop app or from the T3 Code app on your phone. T3 Connect uses an outbound connection, so you do not need to open a port, use SSH, or set up a VPN.
1. Install T3 Code and sign in.
Download the desktop app from t3.codes. The same page links to the iOS and Android apps. Open the app and sign in to your T3 account. You use this account to approve the link in step 4.
2. Open scigent.ai in Neurodesktop.
Open scigent.ai from the JupyterLab launcher, as described above.
3. Select Setup T3 connect.
Select Setup T3 connect in the bar at the top of the scigent.ai tab.

4. Approve the device code.
The Setup T3 connect panel shows a short device code and a link to accounts.t3.codes/device. Open the link, sign in with the same T3 account that you use in the app, and enter the code. Approving the code gives your T3 account remote access to this Neurodesktop environment.
The code expires after a few minutes. If it expires, select Retry to get a new code.
5. Wait until the panel shows Ready.
After you approve the code, Neurodesktop restarts T3 Code and checks that the connection works. If agents are still working in a chat, setup waits up to 30 minutes for them to finish. If they are still working after that, setup stops with an error. Finish or stop the active chats, and then select Retry. The connection can take several minutes to become available.
The panel shows Ready and the name of the environment. On JupyterHub, the name is username@hub-address, for example stebo85@play-america.neurodesk.org. For a named server, the name is username/server-name@hub-address.
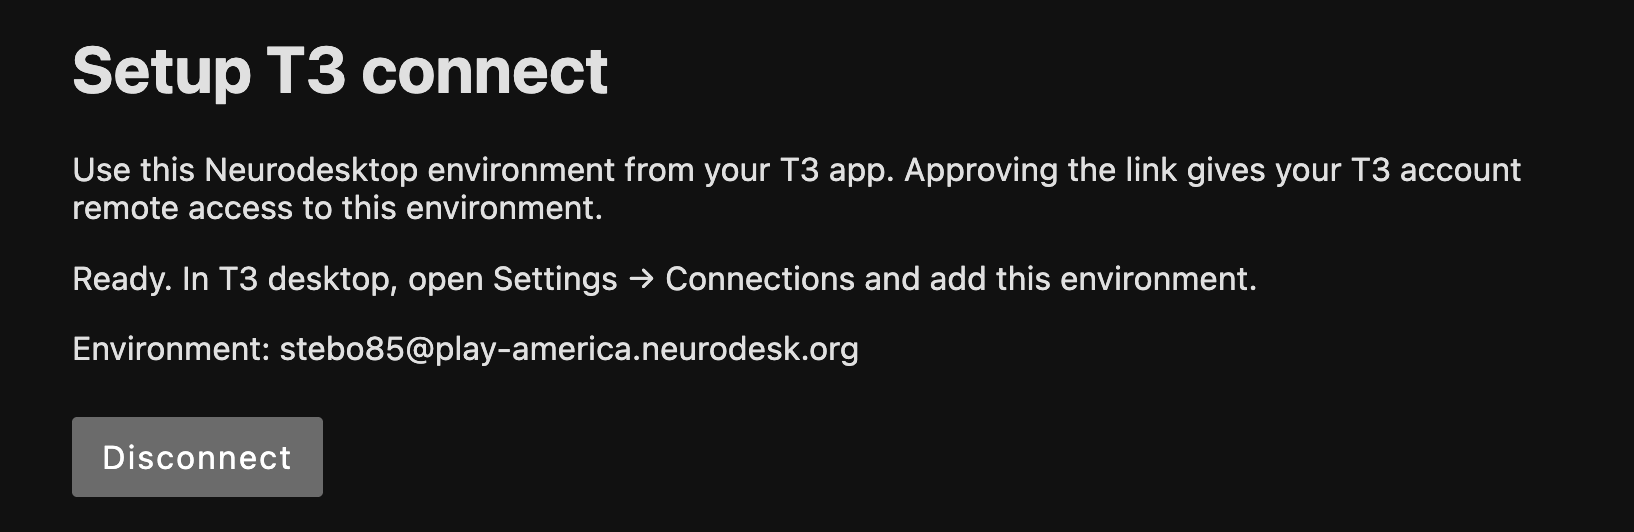
6. Add the environment in the app.
In the T3 Code desktop app, open Settings → Connections and add the environment with the name from the panel. When the connection works, the environment shows T3 Connect · Connected.

The environment is now also available in the T3 Code mobile app when you sign in with the same T3 account. You can start and follow agent chats in Neurodesktop from your phone.
Troubleshooting
Section titled “Troubleshooting”- The connection limit is reached. By default, a T3 account can connect 3 environments. Remove a connection that you no longer use at app.t3.codes/settings/general, and then select Retry. Signing in again does not free a connection.
- The app shows a version warning. The T3 Code server version is fixed in each Neurodesktop release. Update Neurodesktop to update the server. Do not use the update function in T3 Code to update the server.
- You use Neurodesktop on an HPC cluster. T3 Connect works in an HPC job if the cluster allows outbound internet connections from compute nodes. An SSH connection from the desktop app to the login node does not reach your Neurodesktop job.