This is the multi-page printable view of this section. Click here to print.
Hosted
1 - Github Codespaces
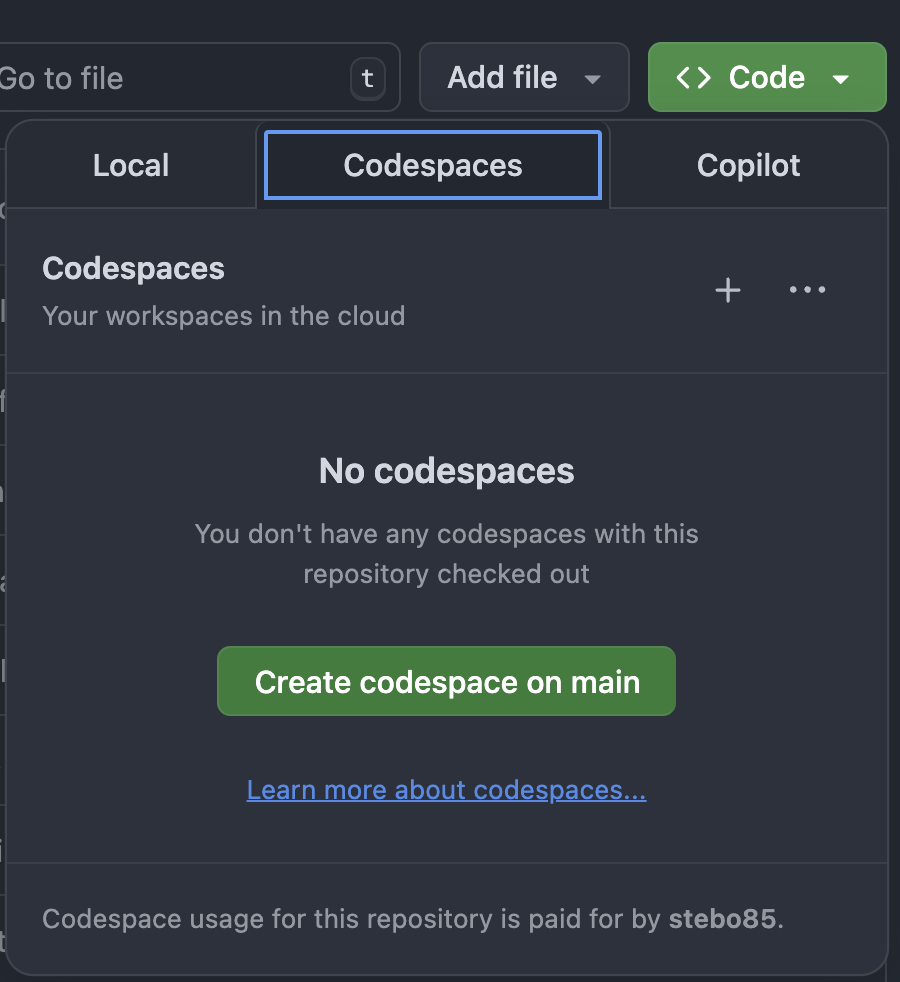
Start a GitHub Codespace in the repository of your choice:
Then start the neurodesktop container in a terminal:
docker volume create neurodesk-home &&
sudo docker run \
  --shm-size=1gb -it --security-opt apparmor=neurodeskapp --privileged --user=root --name neurodesktop \
  -v ~/neurodesktop-storage:/neurodesktop-storage \
  --mount source=neurodesk-home,target=/home/jovyan \
  -e NB_UID="$(id -u)" -e NB_GID="$(id -g)" \
  -p 8888:8888 \
  -e NEURODESKTOP_VERSION=2025-06-10 ghcr.io/neurodesk/neurodesktop/neurodesktop:2025-06-10
Then open Neurodesktop in the browser by clicking the “Open in Browser” Button displayed
The token for authentication is displayed in the terminal:

2 - Bunya
Neurodesk is installed at the University of Queensland’s supercomputer “Bunya”. To access neurodesk tools you need to be in an interactive job (so either start a virtual desktop via Open On-Demand: https://bunya-ondemand.rcc.uq.edu.au/pun/sys/dashboard) or run:
salloc --nodes=1 --ntasks-per-node=1 --cpus-per-task=1 --mem=5G --job-name=TinyInteractive --time=01:00:00 --partition=debug --account=REPLACE_THIS_WITH_YOUR_AccountString srun --export=PATH,TERM,HOME,LANG --pty /bin/bash -l
Then load the neurodesk modules:
module use /sw/local/rocky8/noarch/neuro/software/neurocommand/local/containers/modules/
export APPTAINER_BINDPATH=/scratch,/QRISdata
Now you can list all modules (Neurodesk modules are the first ones in the list):
ml av
Or you can module load any tool you need:
ml qsmxt/6.4.1
If you want to use GUI applications (fsleyes, afni, suma, matlab, …) you need to overwrite the temporary directory to be /tmp (otherwise you get an error that it cannot connect to the DISPLAY):
export TMPDIR=/tmp
For matlab you also need to create a network license file in your ~/Downloads/network.lic:
SERVER uq-matlab.research.dc.uq.edu.au ANY 27000
USE_SERVER
NOTE: If you are using AFNI on Bunya then the default detach behavior will cause SIGBUS errors and a crash. To fix this run AFNI with:
afni -no_detach
NOTE: MRIQC has its $HOME variable hardcoded to be /home/mriqc. This leads to problems on Bunya. A workaround is to run this before mriqc:
export neurodesk_singularity_opts="--home $HOME:/home"
If you are missing an application, please contact mail.neurodesk@gmail.com and ask for the neurodesk installation to be updated on Bunya :)
Using this inside a jupyter notebook
You need to install this in addtion:
pip install jupyterlmod
Then start a notebook and run these commands:
import module
await module.load('niimath')
3 - Nectar Virtual Desktop Service
Note
Link to Nectar Virtual Desktop Service: https://desktop.rc.nectar.org.auThere are a few differences between the open-source version of Neurodesk and what’s hosted on Nectar VDI:
- There is no
/neurodesktop-storagefolder (the folder on the Desktop does not lead anywhere). - Files uploaded via drag and drop do not get stored on the desktop but in
/home/vdiuser/thinclient_drives/GUACFS
Instructions for use
Click on “Sign in”.
Choose the AAF option.
Choose your institution from the list.
Provide your email address and password.
Click on create a Workspace (you only need to do this when you sign in for the first time).

Fill form ‘Apply for new Workspace’ and submit.

Click on “EXPLORE”.

Click “VIEW DETAILS” under Neurodesktop:
Click “CREATE DESKTOP +” button on the top right corner.
Choose the desired availability zone.
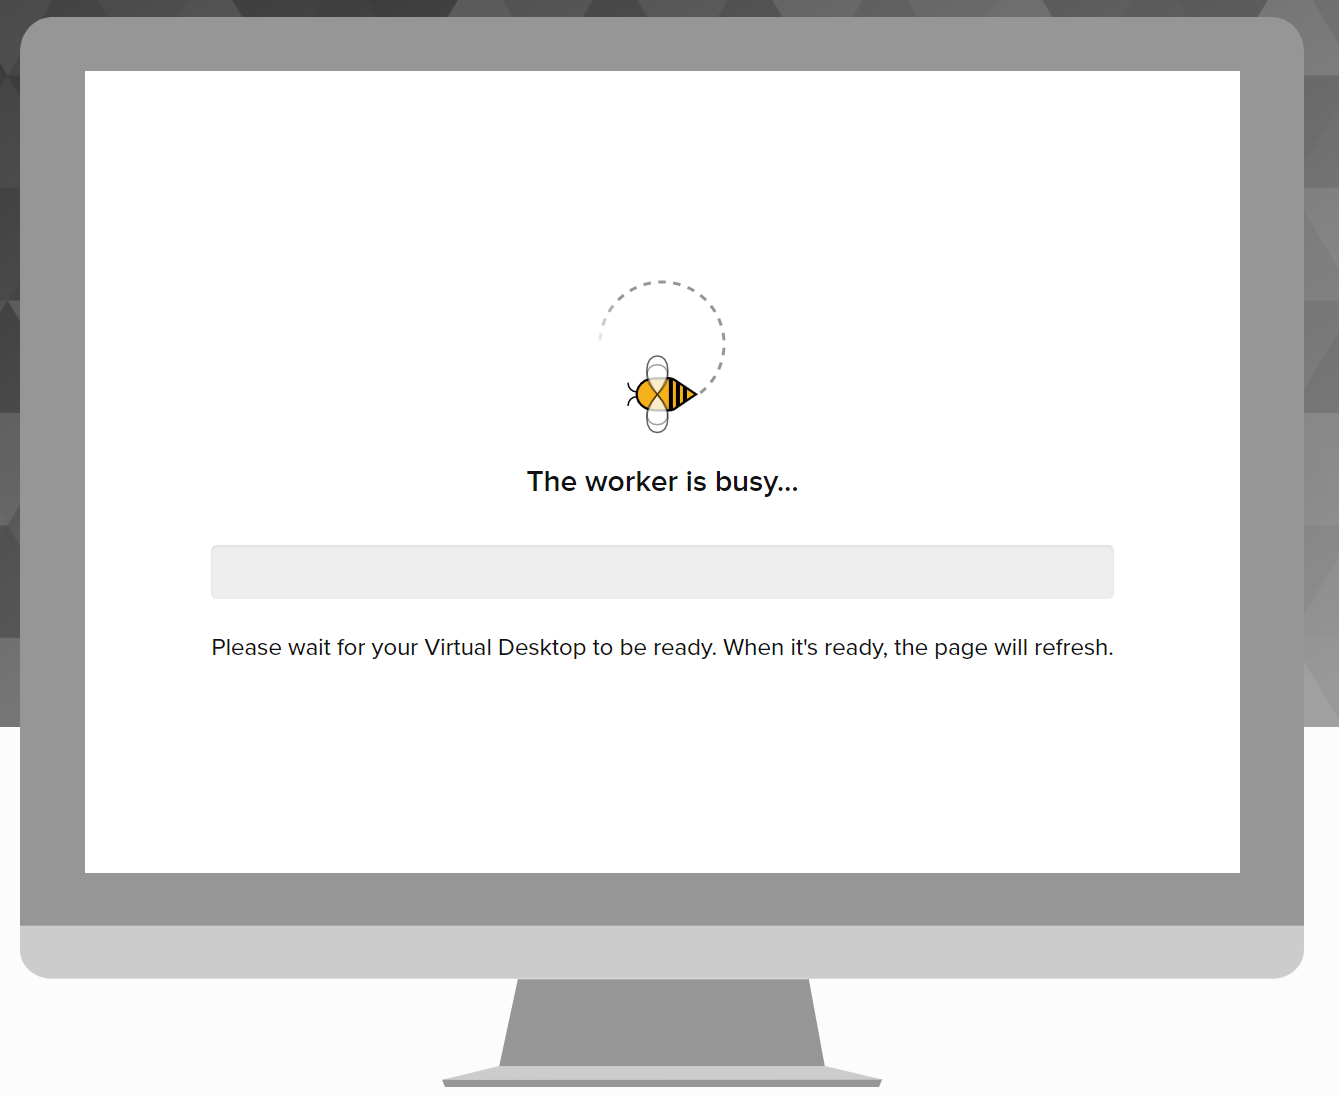
Wait until everything is completed:

Click “OPEN DESKTOP ->”:

For a general guide on using the ARDC virtual desktops, click here: https://tutorials.rc.nectar.org.au/virtual-desktop-service/01-overview
For a specific explanation on how to launch the various applications available in the Neurodesktop desktop, follow the instructions here: https://neurodesk.org/docs/getting-started/neurodesktop/
4 - Play
Neurodesk Play is a publicly available service for accessing Neurodesk without any setup
5 - Google Colab
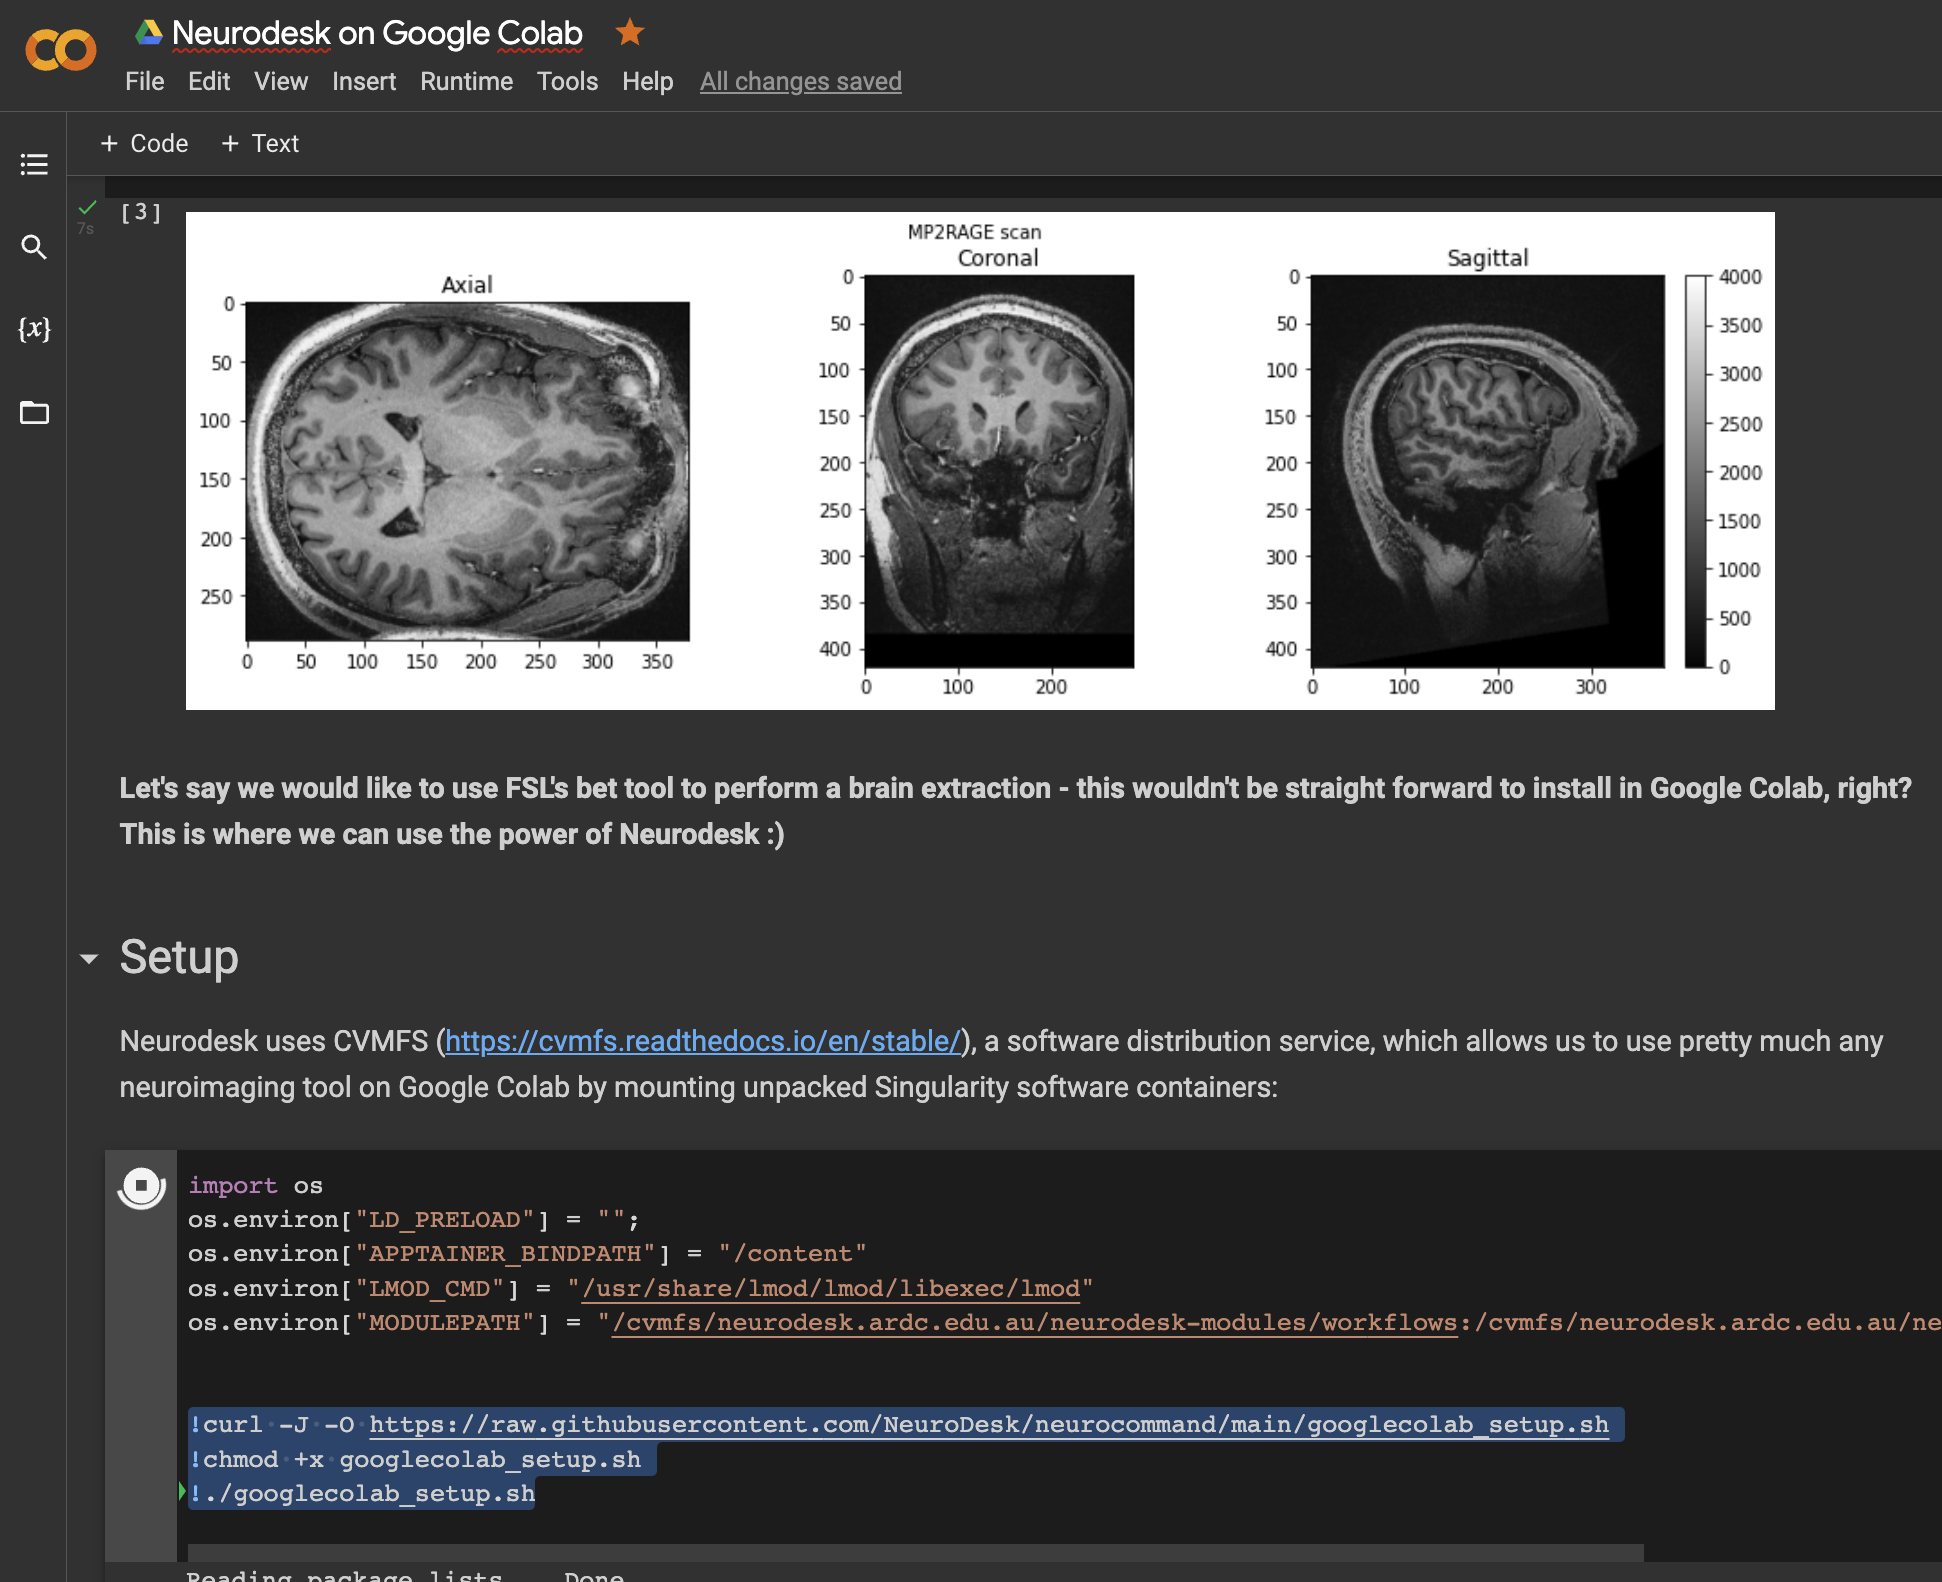
Open a notebook in Google Colab and run the following commands to set up the Neurodesk environment:
import os
os.environ["LD_PRELOAD"] = "";
os.environ["APPTAINER_BINDPATH"] = "/content"
os.environ["MPLCONFIGDIR"] = "/content/matplotlib-mpldir"
os.environ["LMOD_CMD"] = "/usr/share/lmod/lmod/libexec/lmod"

!curl -J -O https://raw.githubusercontent.com/NeuroDesk/neurocommand/main/googlecolab_setup.sh
!chmod +x googlecolab_setup.sh
!./googlecolab_setup.sh

os.environ["MODULEPATH"] = ':'.join(map(str, list(map(lambda x: os.path.join(os.path.abspath('/cvmfs/neurodesk.ardc.edu.au/neurodesk-modules/'), x),os.listdir('/cvmfs/neurodesk.ardc.edu.au/neurodesk-modules/')))))
Once this setup is completed you can list the available Neurodesk applications like this:
import lmod
await lmod.avail()
and use applications like this:
await lmod.load('fsl/6.0.4')
!bet
This notebook demonstrates how to use all Neurodesk applications in Google Colab: https://colab.research.google.com/drive/1g5cnZxj1llRaHmOs4xSglqsXnFkQYuol?usp=sharing

This is a google colab notebook that shows how to integrate with google drive and contains an example how to run fMRIprep in google colab: https://colab.research.google.com/drive/11wVBkjNvrzo2TkUAILtWnPumAeFAfqkl?usp=sharing
and more examples can be found in our example library